happy summer 50% off all designs! no code needed

Best design deals for crafters

printable sticker vinyl with holographic laminate

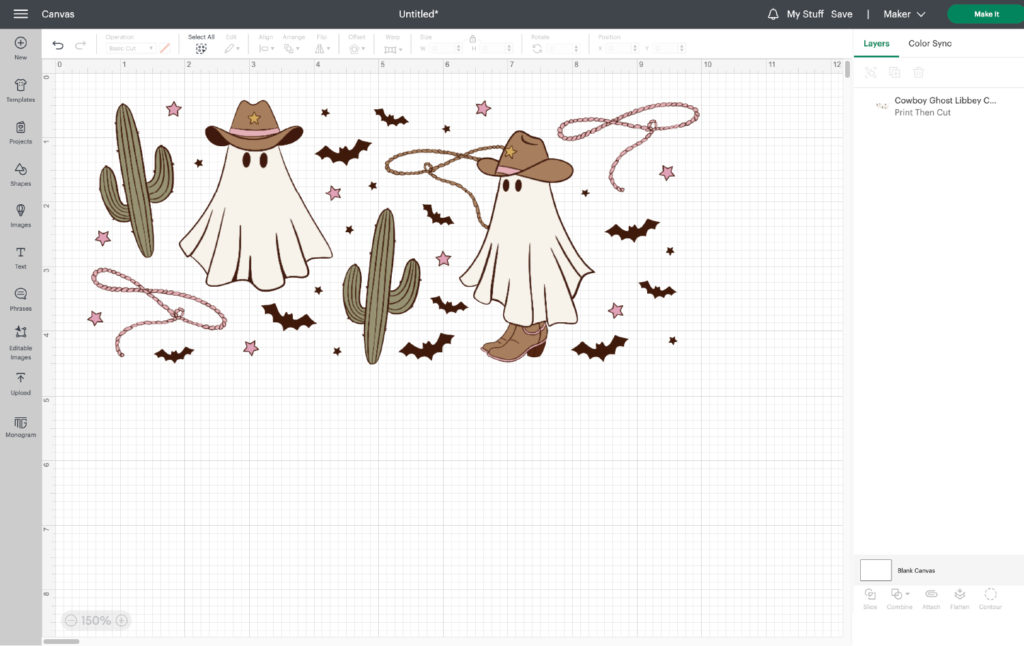
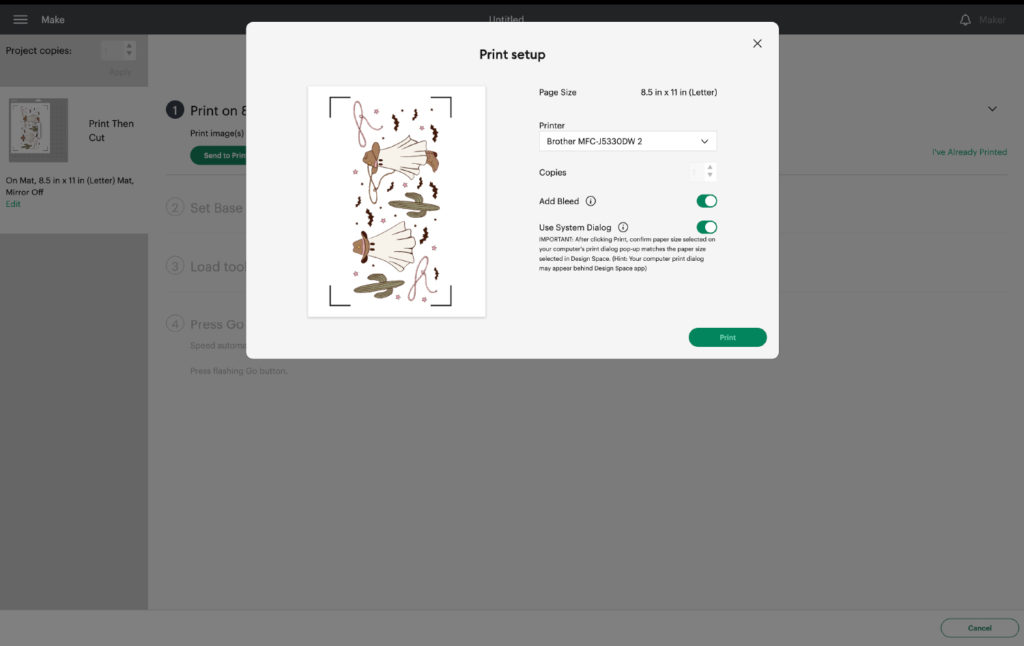
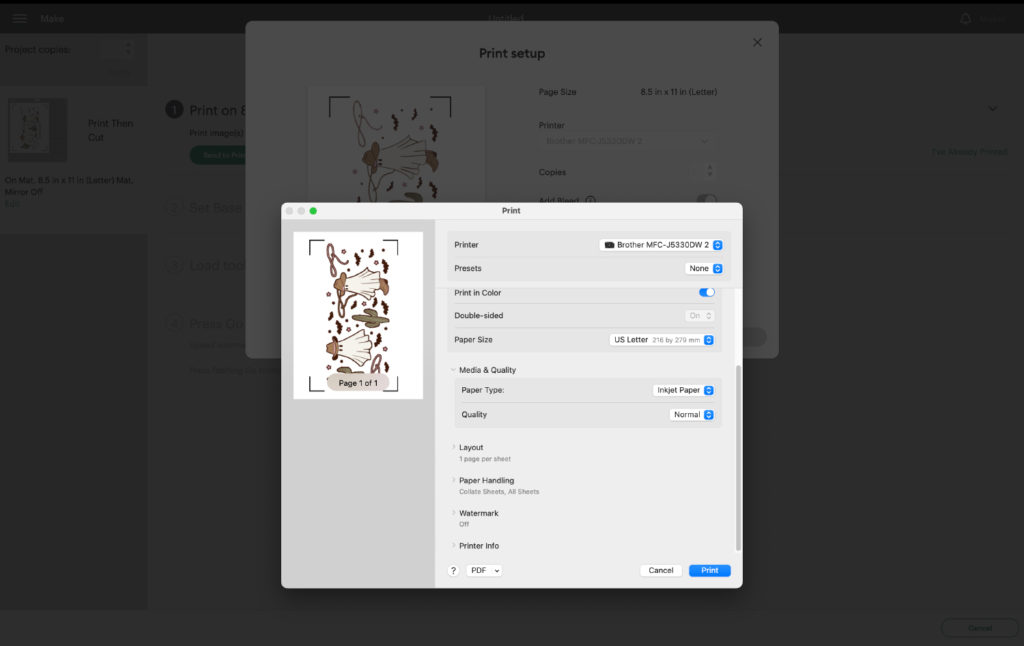
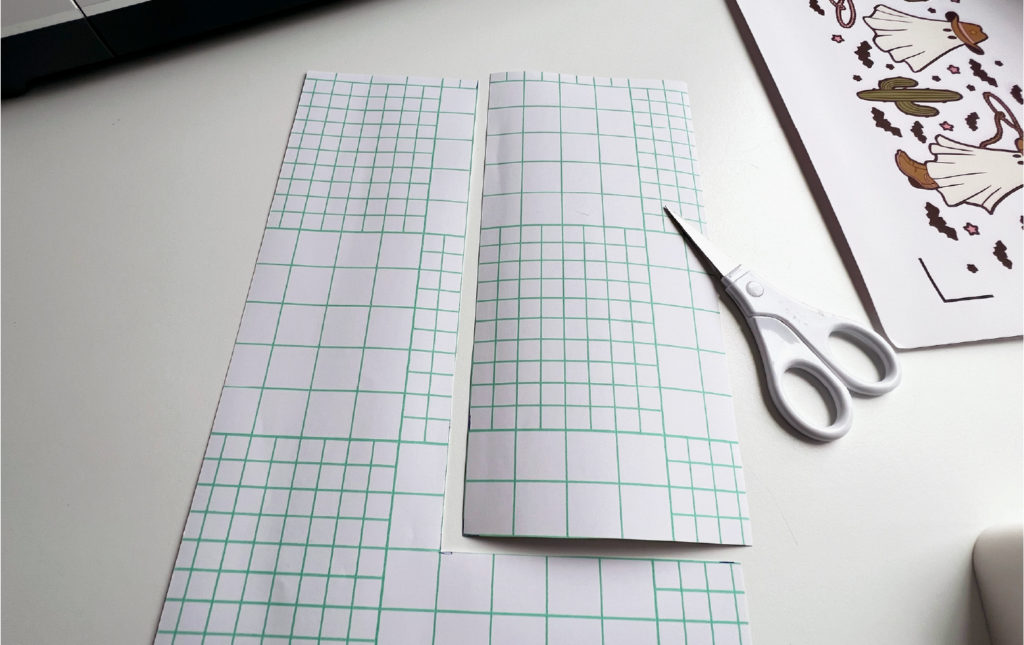
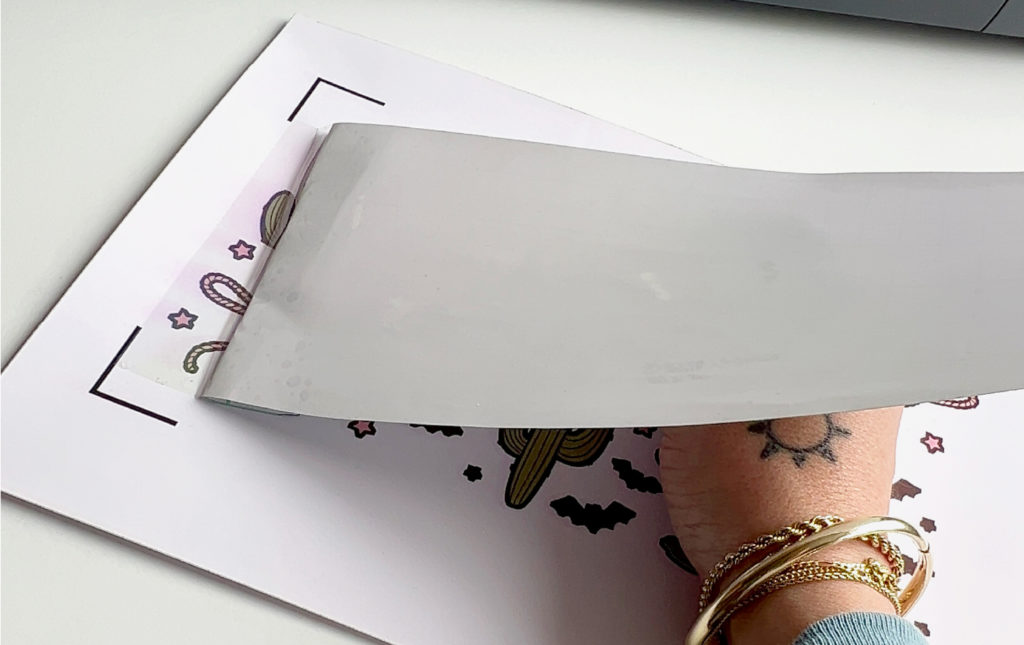
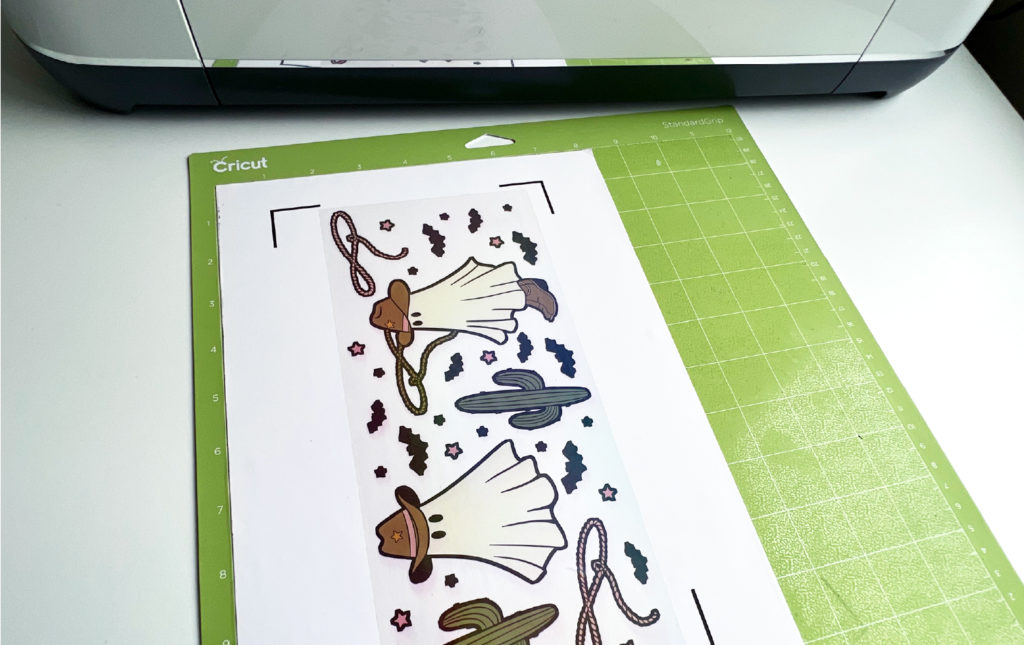
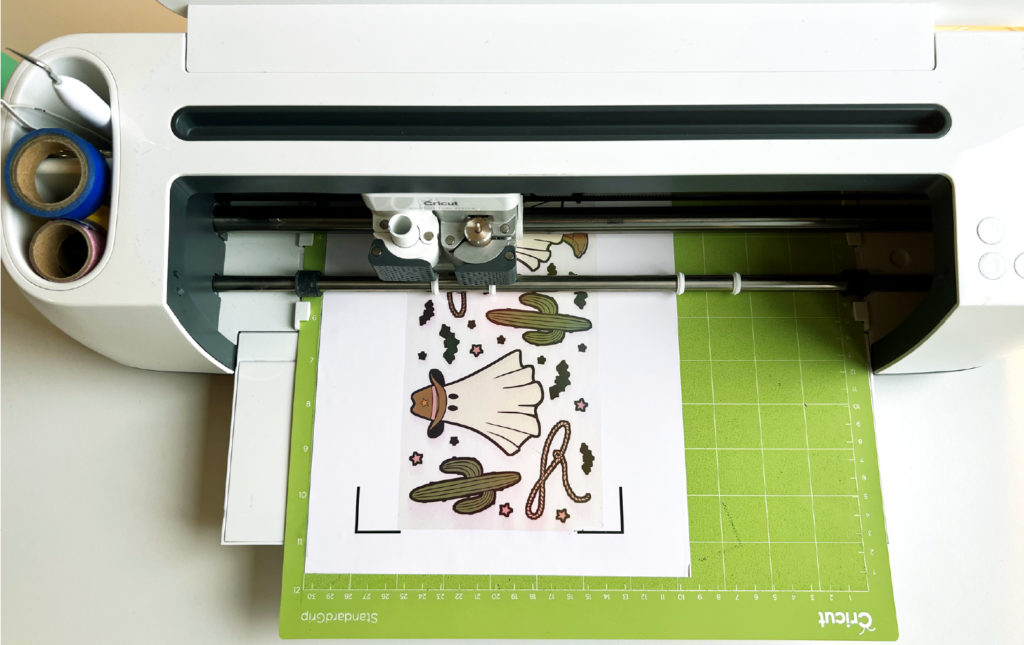
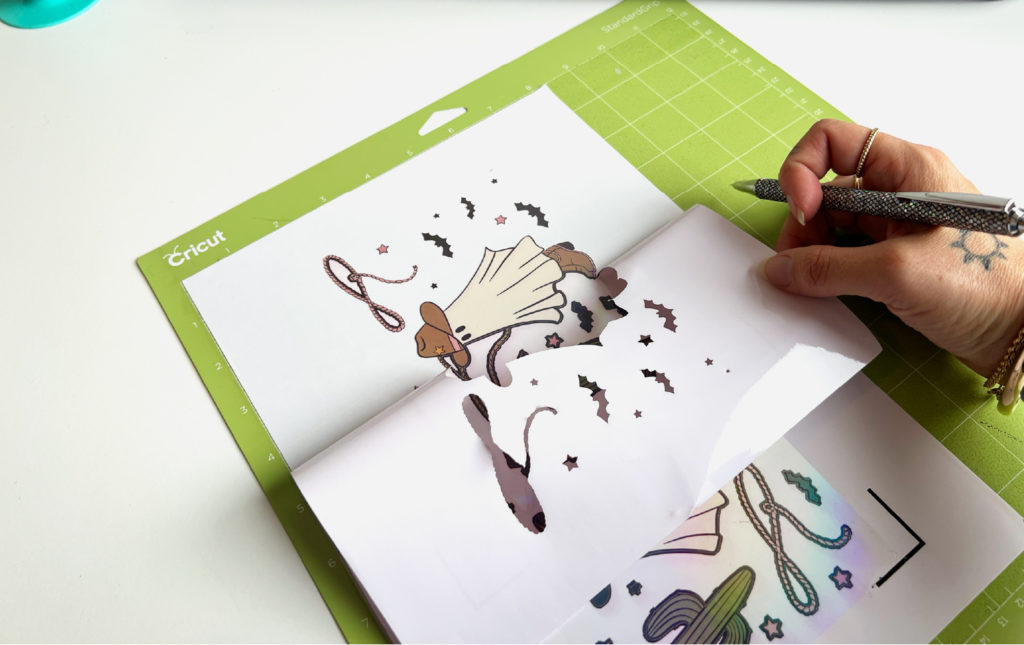
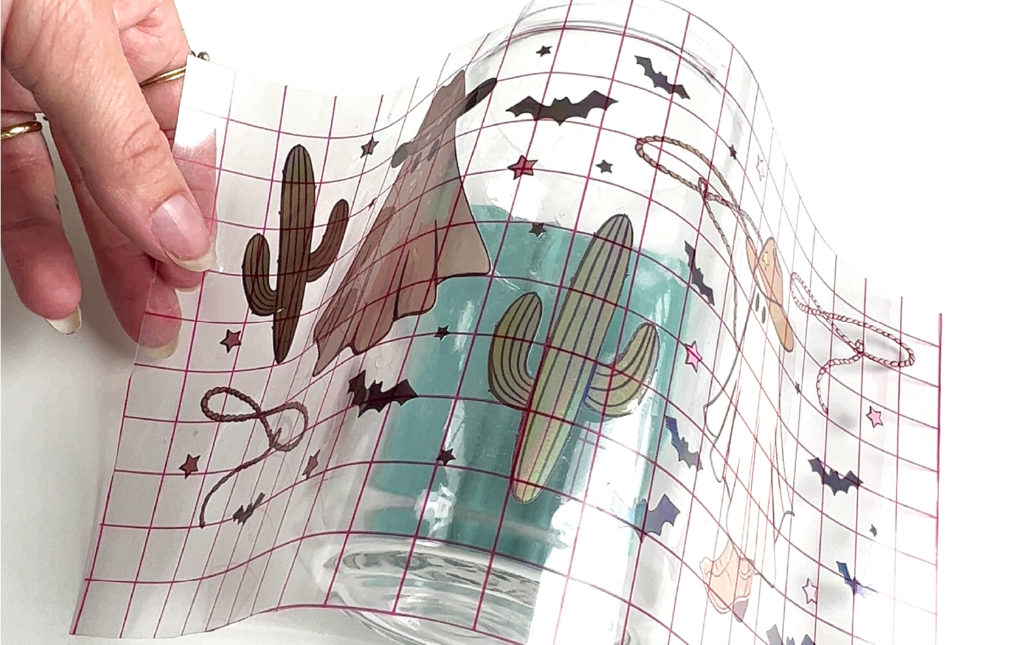
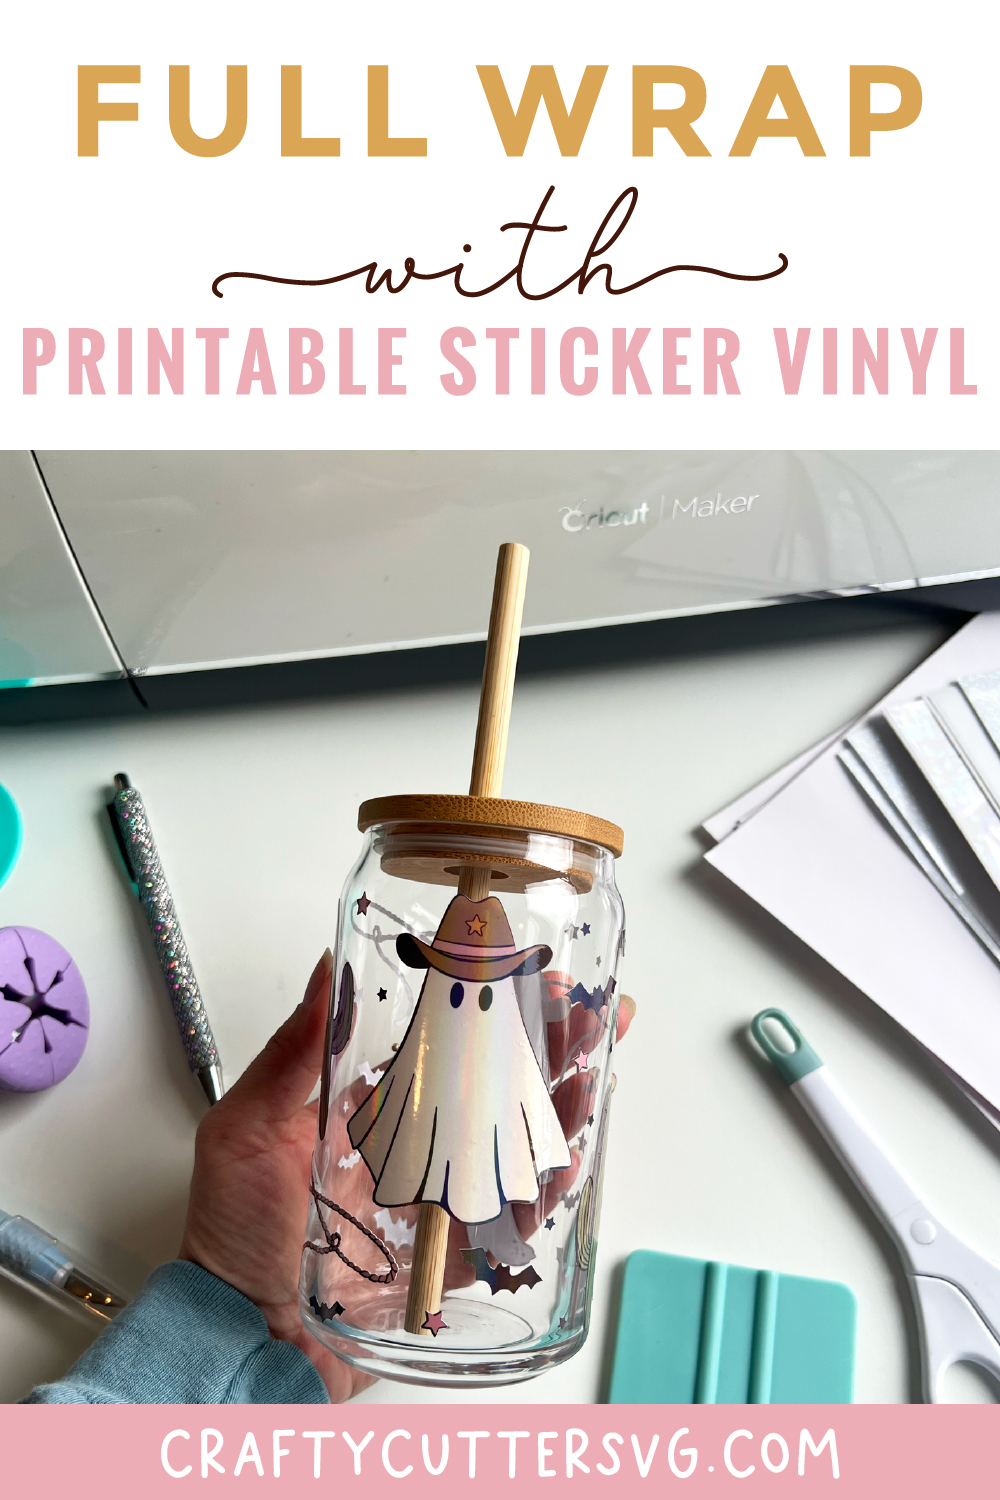
We love decorating our Libbey Cups with full wrap designs. Usually we would use vinyl for this and apply different layers to the cup to create a fun design. But sometimes the designs are a bit too detailed and has too many layers. In this case sublimation, DTF or printable vinyl sticker is a great way to go. In this tutorial I will explain how to create and apply a full wrap to your Libbey cup or any other cup using printable sticker vinyl with a laminate finish. 
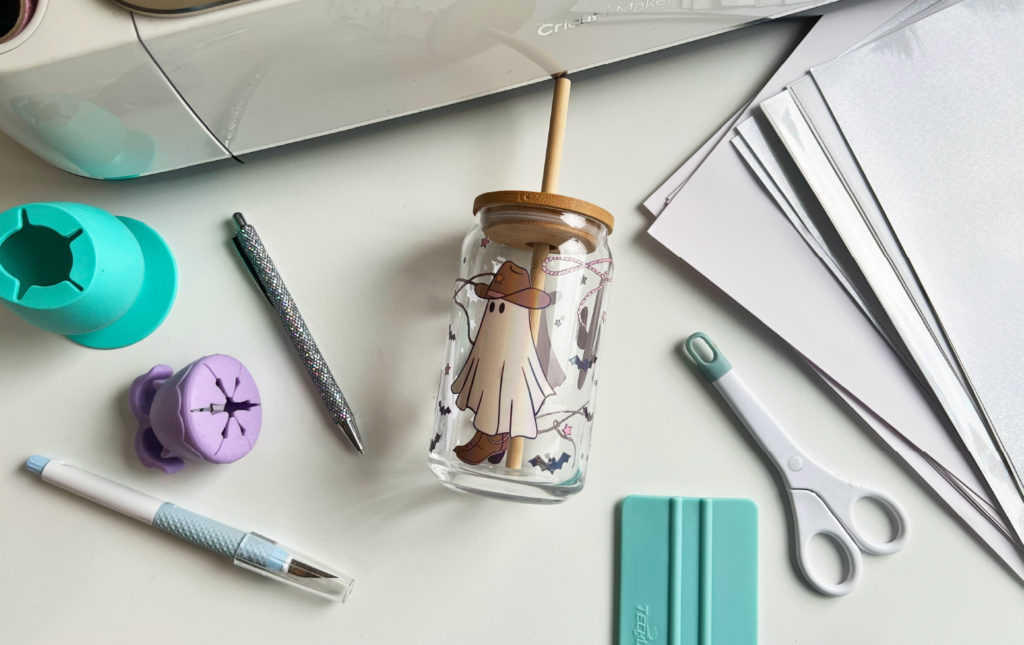
Let’s get started!

what do you need?

Tools:

  • Cricut + mat
  • Design Software
  • Printer
  • Knife
  • Ruler
  • Squeegee  

  • Weeding Tool
  • Scissors

Materials:

  • Printable Vinyl Sticker Paper
  • Cold Laminate (can be any kind eg; holographic, matt, glossy)
  • Libbey Cup (or any other cup) 
  • Transfer Tape

Design Space

First we start of by uploading our design into Design Space as a print and cut file. Make sure when uploading your png file that Cricut can change the sizing of this. So make sure you adjust the size of the design so it will fit correctly on your cup.

Then in Design Space click the “Make It” button in the top right corner. In the next dialogue make sure that your design is placed in the middle of the mat and click “Continue”. Now click the button “Send to Printer”. A new printer dialogue will pop up. I always select “Add Bleed” and “Use System Dialog”.

In the Printer dialog I set the paper type to “Inktjet Paper”. Using this setting my colors print out more vibrant then when I leave the standard settings. Go ahead and click “print”.

Applying Laminate

Now that we have printed the design it is time to add our laminate to our design. I measure the size of laminate I will need to cover the full design but also making sure I won’t cover the registration marks that Cricut Design Space has added. I cut out the piece of laminate.

I fold over a small part of the laminate and apply this on the top making sure I don’t cover the registration marks. I then slowly apply the rest of the laminate on the design just by using my hands. After the laminate fully covers the design I go over it with a squeegee.

Once the laminate is applied I put the sheet on the cutting mat.

Cut settings

Now lets set up the settings to cut the design. As we are using a printable sticker vinyl with a laminate on top it is quite a tick material. Therefore I set up my own pressure settings so I am sure it will cut through the laminate and the sticker paper. In Cricut Design Space click on “Browse all materials”. 

All the way at the bottom you can click on “Material Settings”. A new menu pops up with all the preset materials then scroll all the way to the bottom. Here you click a button “Add New Material”. Add a name for the material and click “Save”. You can now set the pressure. I have set mine to 200 but this could vary if you have a new blade for example. You might need less pressure. Then click “Save”.

You can now load your mat into the Cricut and click start, to start cutting your design.

Weeding + Applying

Now your design is cut out you can take of the access materials with a weeding tool.

When all the access material is removed, I apply a piece of transfer tape on top of the design so I can apply it to the Libbey cup.

Now remove the transfer tape with the design on it so you can apply it to your cup.

You can find all our full wrap designs here:

Pin it!

Leave a Comment

Reviews