Cricut Foil Stickers
Creating stickers with your Cricut is super easy. But what about making stickers with foil effect added to it? We all love some shiny stickers.
With the Cricut transfer tool you are now able to add foiling to anything. Card-stock, leather and stickers! To get this right there are a few steps you need to follow to get your perfect foil stickers.
Letβs get started!

what do you need?
Tools:
- Cricut Maker or Cricut Explore
- Cricut Mat
- Design Software
- Printer
Cricut Transfer Tool
Materials:
- Sticker Paper
- Tape
- Foil

the process
To get started head over to Design Space. We will first create a rectangle that resembles the printable area you can use when using the print then cut feature in Cricut Design Space.
Set up a rectangle of 6.75β x 9.25β. This is where we will place our stickers inside.

Now go to upload your stickers. This should be a png format.
For image type click βcomplexβ and continue. In the select and erase menu just hit continue. Then in the select upload type menu choose βcut imageβ and upload.

The stickers will probably come in at a different size than designed. So resize these back to the original size. In the sample the stickers were set up in the same size as our rectangle 6.75″ x 9.25″.

Now go to import the single line file which will be an svg file. This will be for the foiling details.

Select the foil layer and go to the top menu. Under βoperationβ choose foil, you can either choose the fine, medium or bold tip. In this sample I have gone with the bold tip.
You will now see that your foil layer has turned in to single lines.

Align both of the layers together and attached them together. Place them within the rectangle. You might have to scale them down slightly to fit within the rectangle.

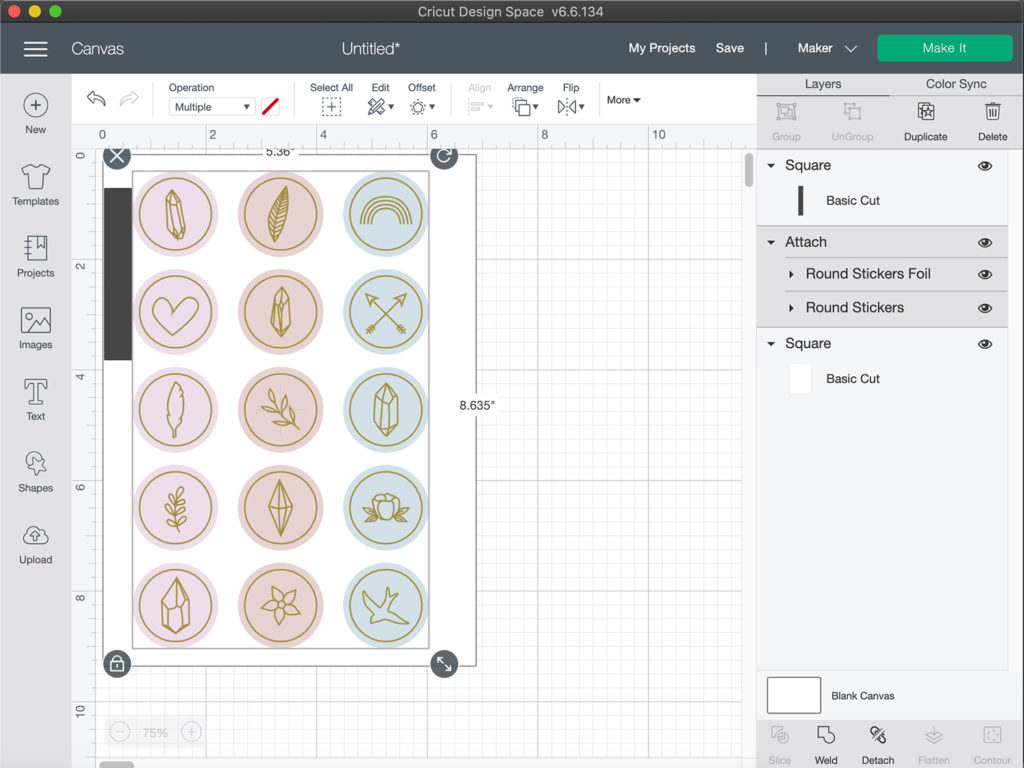
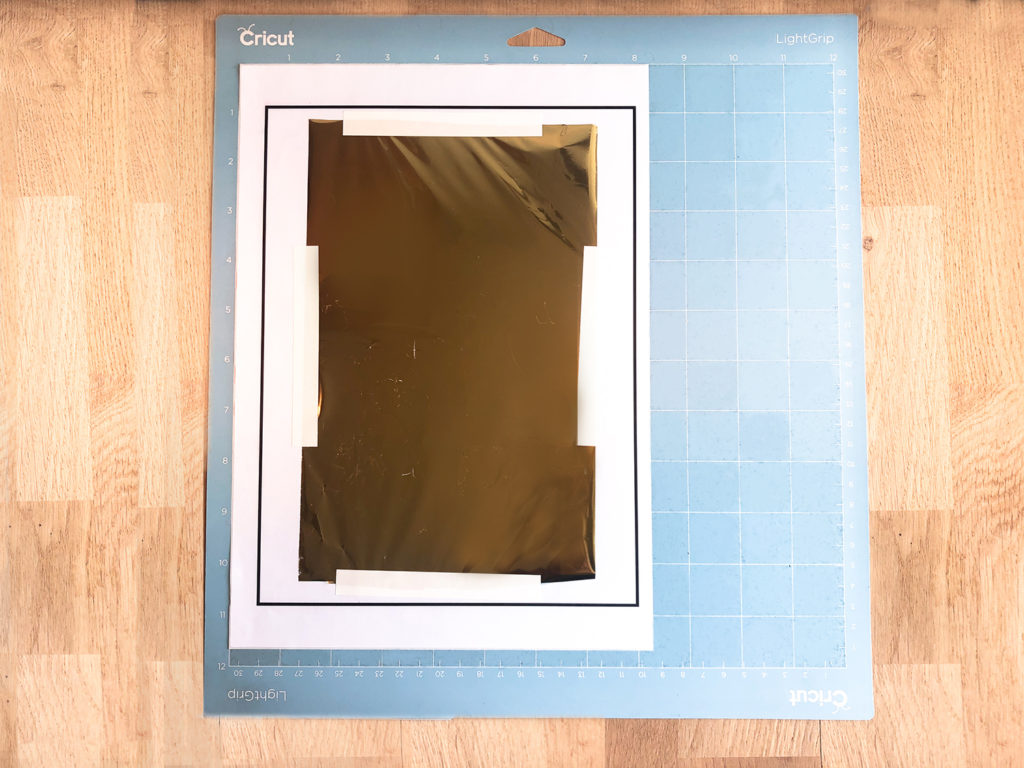
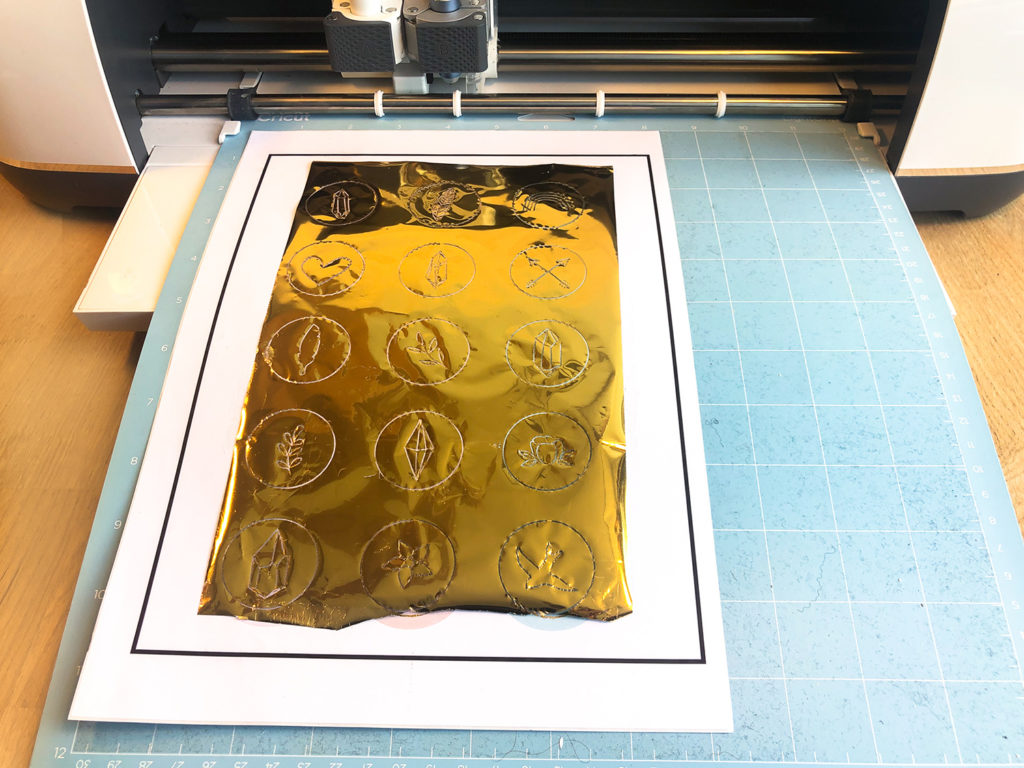
As you know with foiling you have to place the foil sheet on top of the design and attach this with tape around the edges. But because we are doing print then cut Cricut will print a thick black line around the outside of our canvas. We want to avoid that our tape is going to overlap with this thick black line. Because Cricut wonβt be able to read the black lines and wonβt know where to cut. So we need to allow some space between the black line andΒ the stickers for the tape.
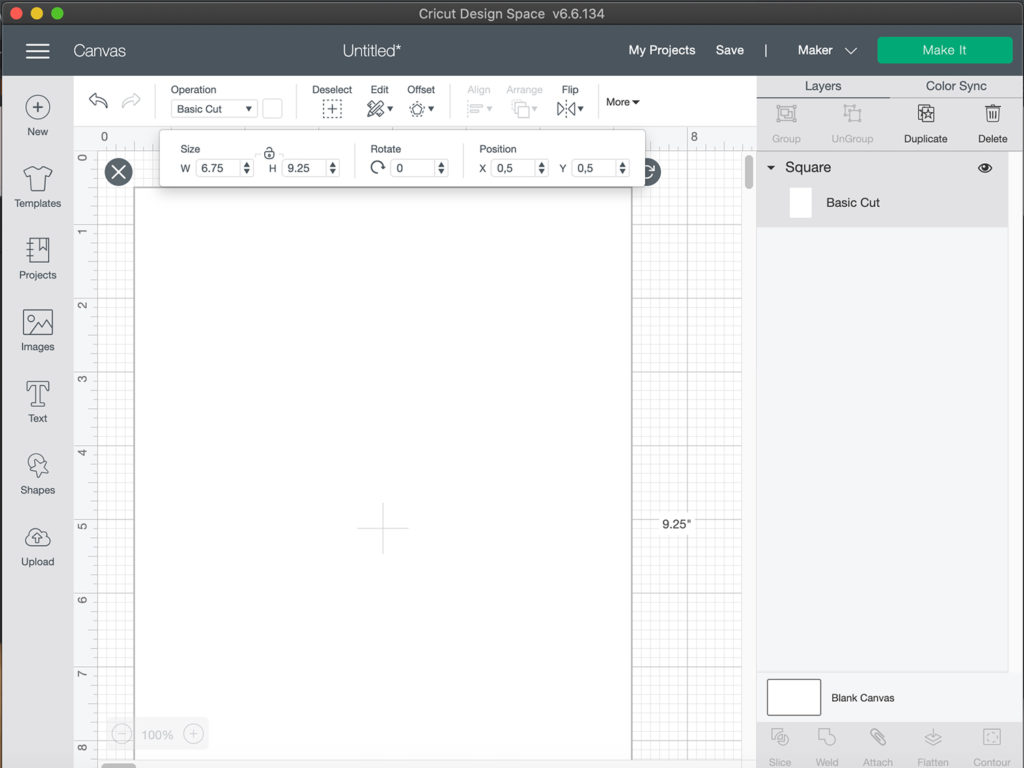
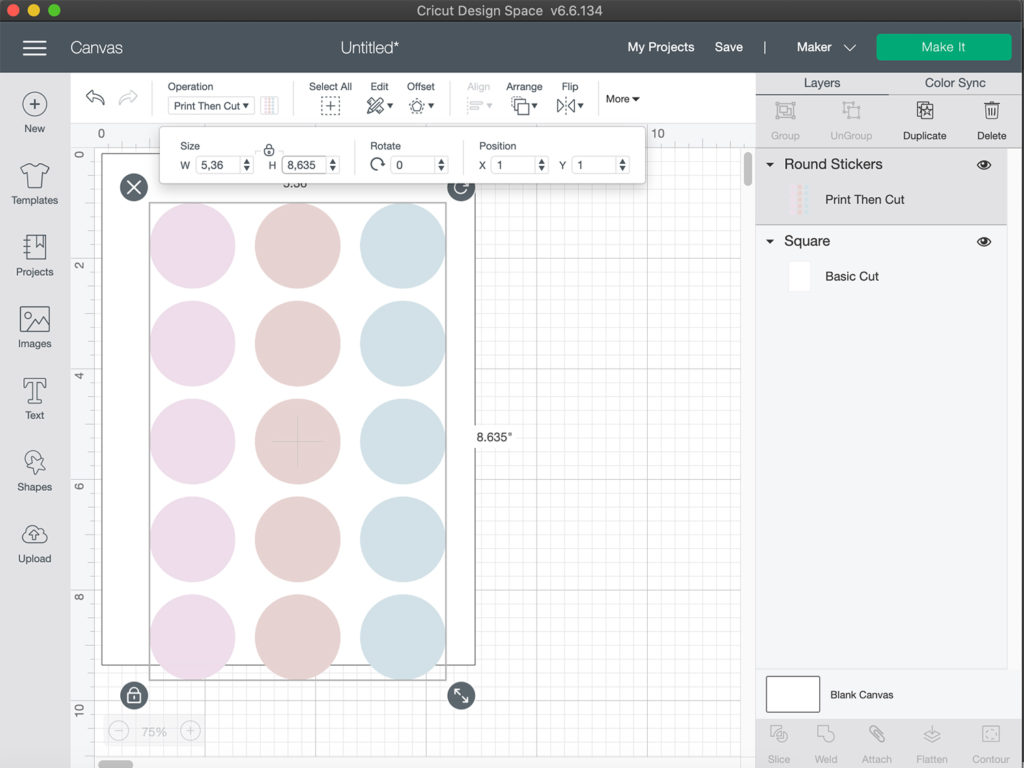
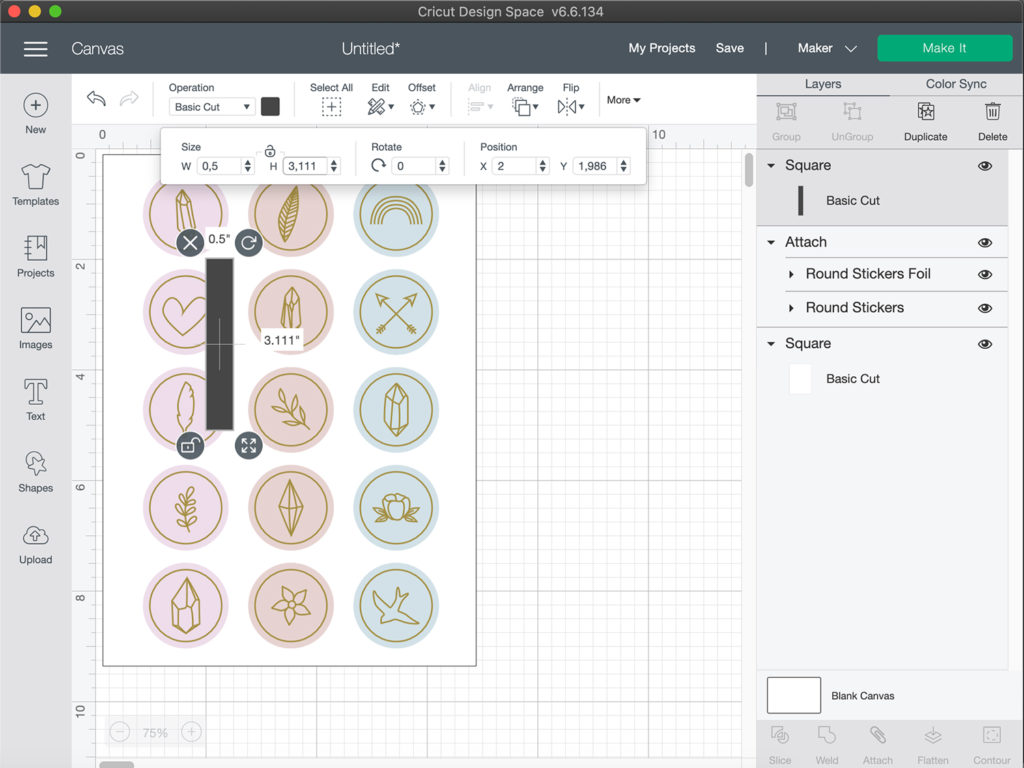
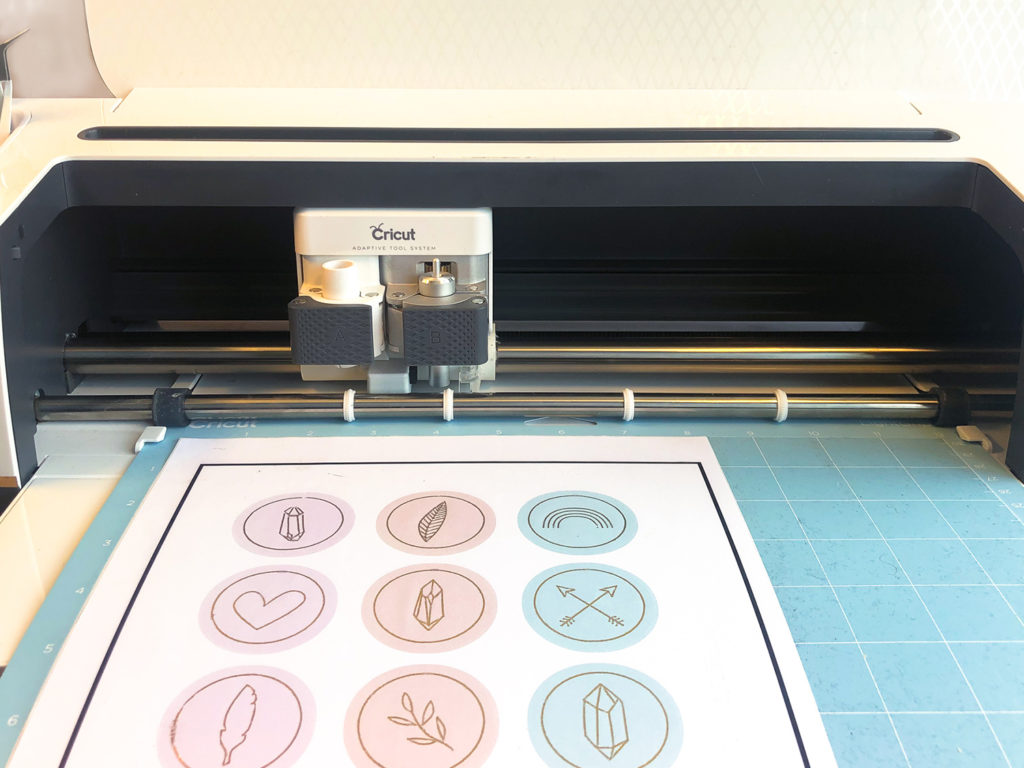
In design space I will recreate the size of the tape so I know where to place the stickers within the rectangle.
Set up a rectangle of 0.5β width the height is not as important.Β

Then place this on the sides and tops of the white rectangle. And make sure your stickers are not overlapping this.
This way we know where the tape comes and doesnβt interfere with the black lines. We can now remove the black rectangle.

Select all the layer and attach them all together we are now ready to print. Go to the βmake itβ menu and print your stickers.

Place your printed stickers on your cutting mat. And tape the foil to the sticker sheet. Make sure that your tape doesnβt overlap with the black lines. There should be plenty of space for this as we made sure of that.Β

When you are ready place the mat in the Cricut and place the Cricut Transfer tool in the machine. You can now hit the start button.

Once the machine is doing with the foil lines remove the foil from the sticker sheet. Make sure you do NOT unload the mat. This is very important!

After you have remove the foil remove the Cricut Transfer Tool. And place the Fine-Point Blade in the machine.
Choose your base material. I choose βPrintable Vinylβ as this will create a sticker sheet. Rather than cutting out all the sticker individually. Then click start.

Unload the mat and remove the access sticker paper on the outside and now you have your own foil sticker sheet!!

Below you can download the stickers I have used in this tutorial to get you started.
Pin it!

Thanks for the good article, I hope you continue to work as well.
I truly appreciate this article post.Much thanks again. Want more.
Thank you!